How to build a Custom GPT
In depth guide on how to build a custom GPT. We'll dive into the features of the Custom GPT Editor provided by OpenAI, complete with visual aids to enhance your understanding. We'll create a custom GPT on the fly and the link will be provided at the end of the post.
Creating a custom GPT model using OpenAI's tools can be an exciting venture for anyone interested in personalized AI. In this blog post, we'll dive into the features of the Custom GPT Editor provided by OpenAI, complete with visual aids to enhance your understanding. We'll create a custom GPT on the fly and the link will be provided at the end of the post.
-
GPT Builder Overview
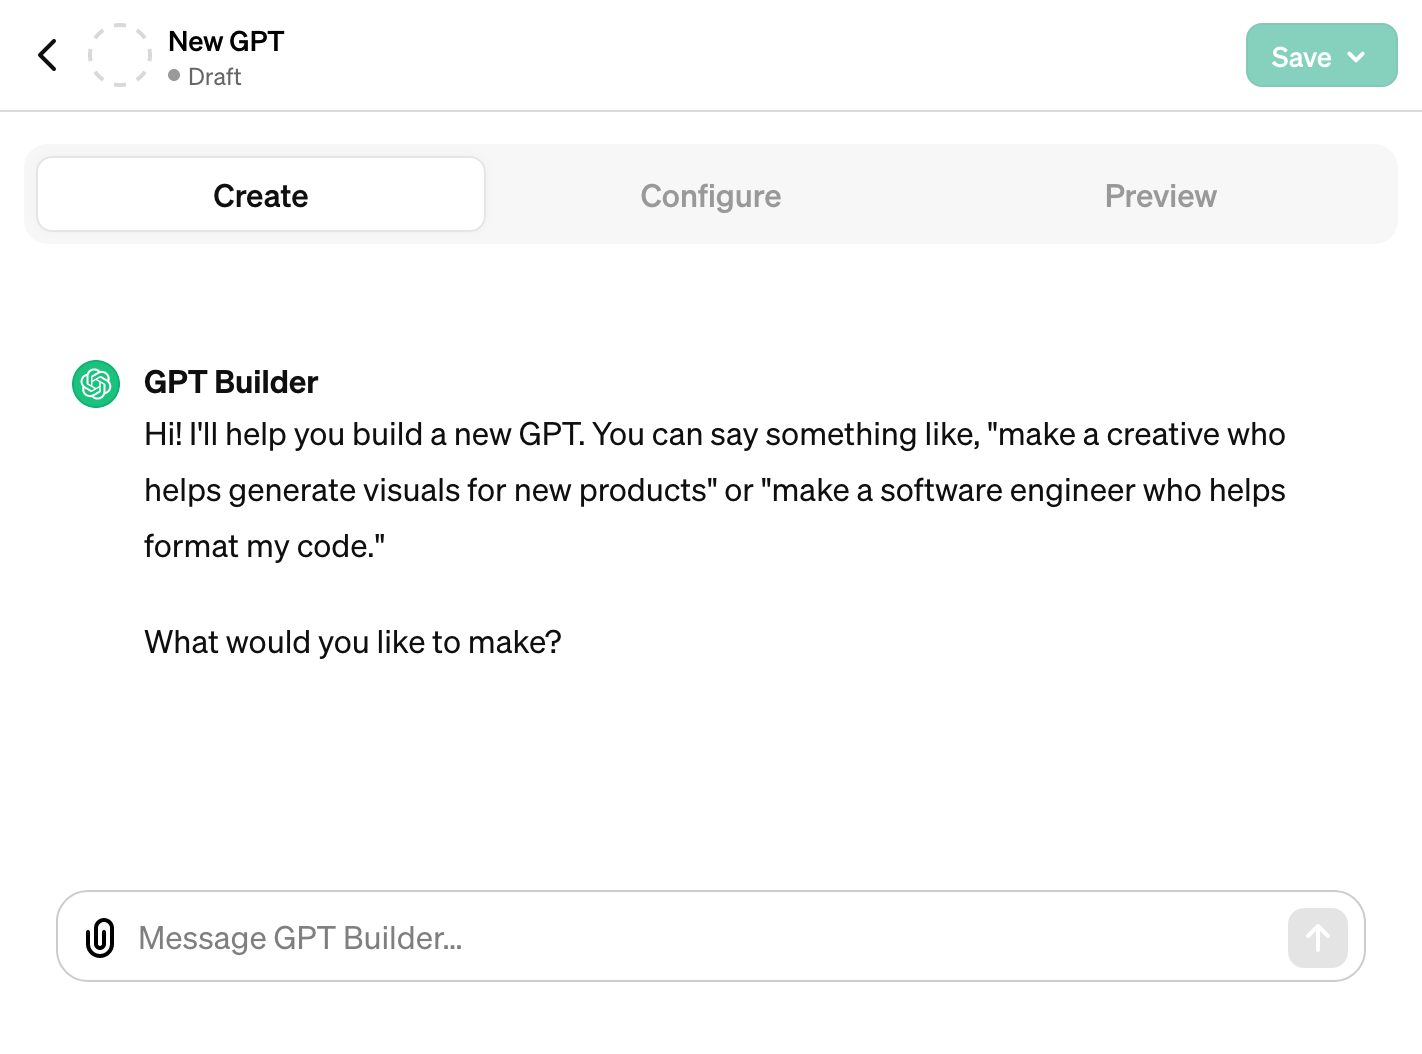
The GPT Builder is the cornerstone of your custom GPT journey. It's a user-friendly interface that guides you through the process of crafting your model. With the GPT Builder, you start by defining the purpose and personality of your GPT. You'll be prompted to input the basic parameters that will shape your AI's interactions. It's where you decide how formal, humorous, or professional your GPT should be.
Let's open the GPT builder.
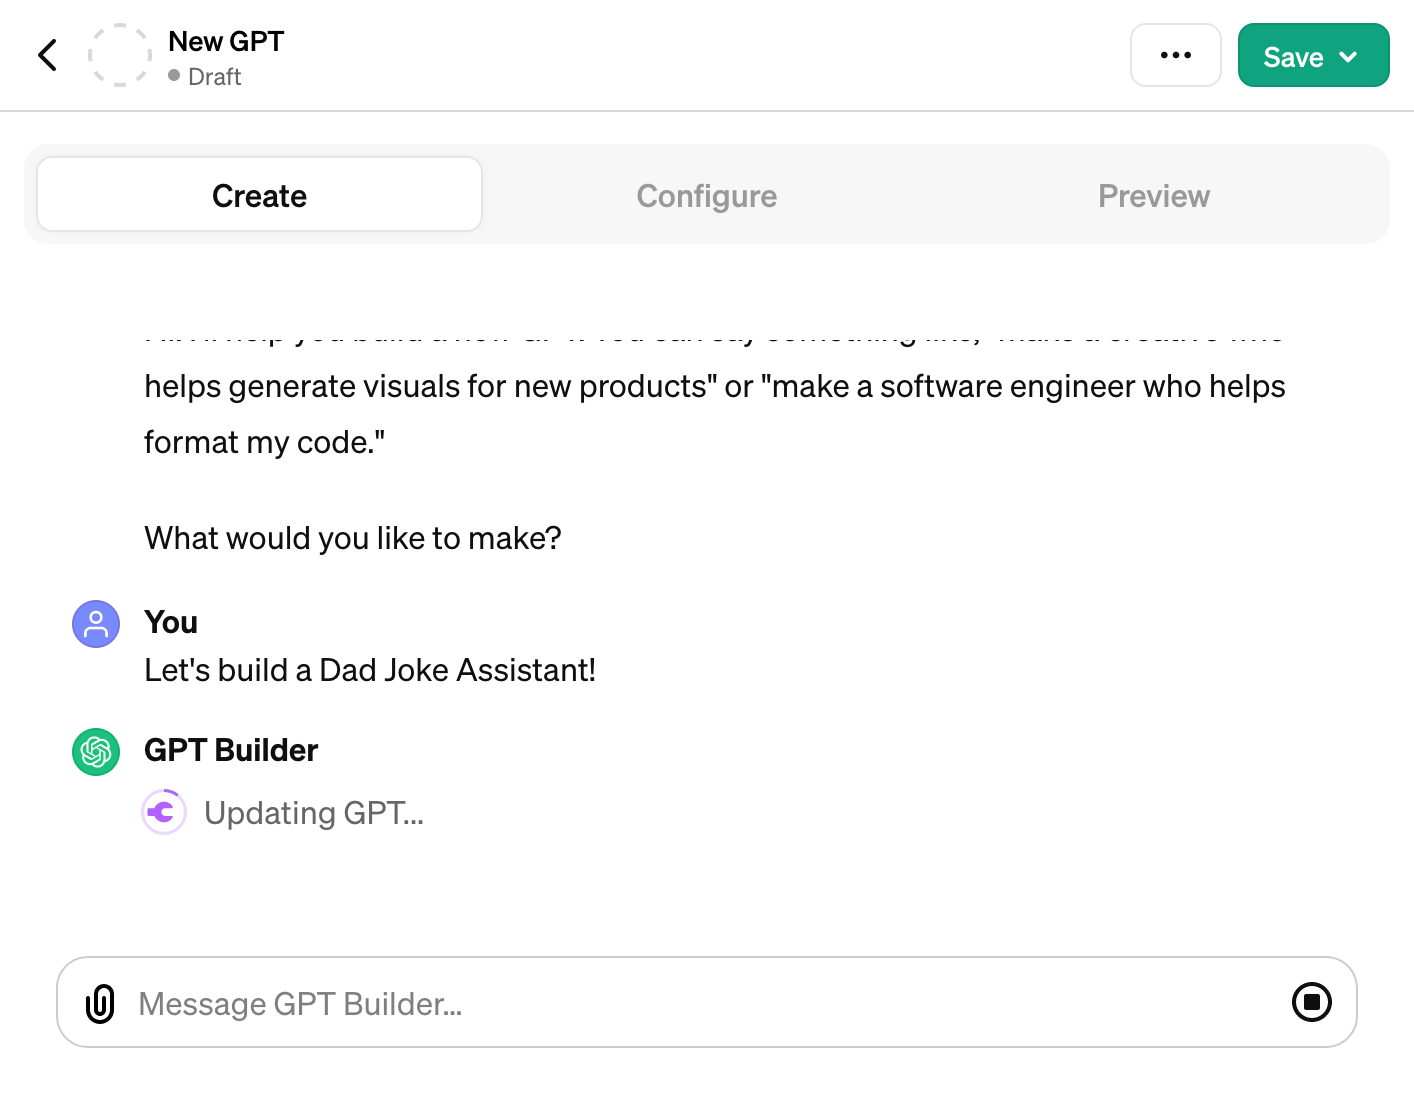
 We'll start by providing the first prompt, let's build a dad joke assistant.
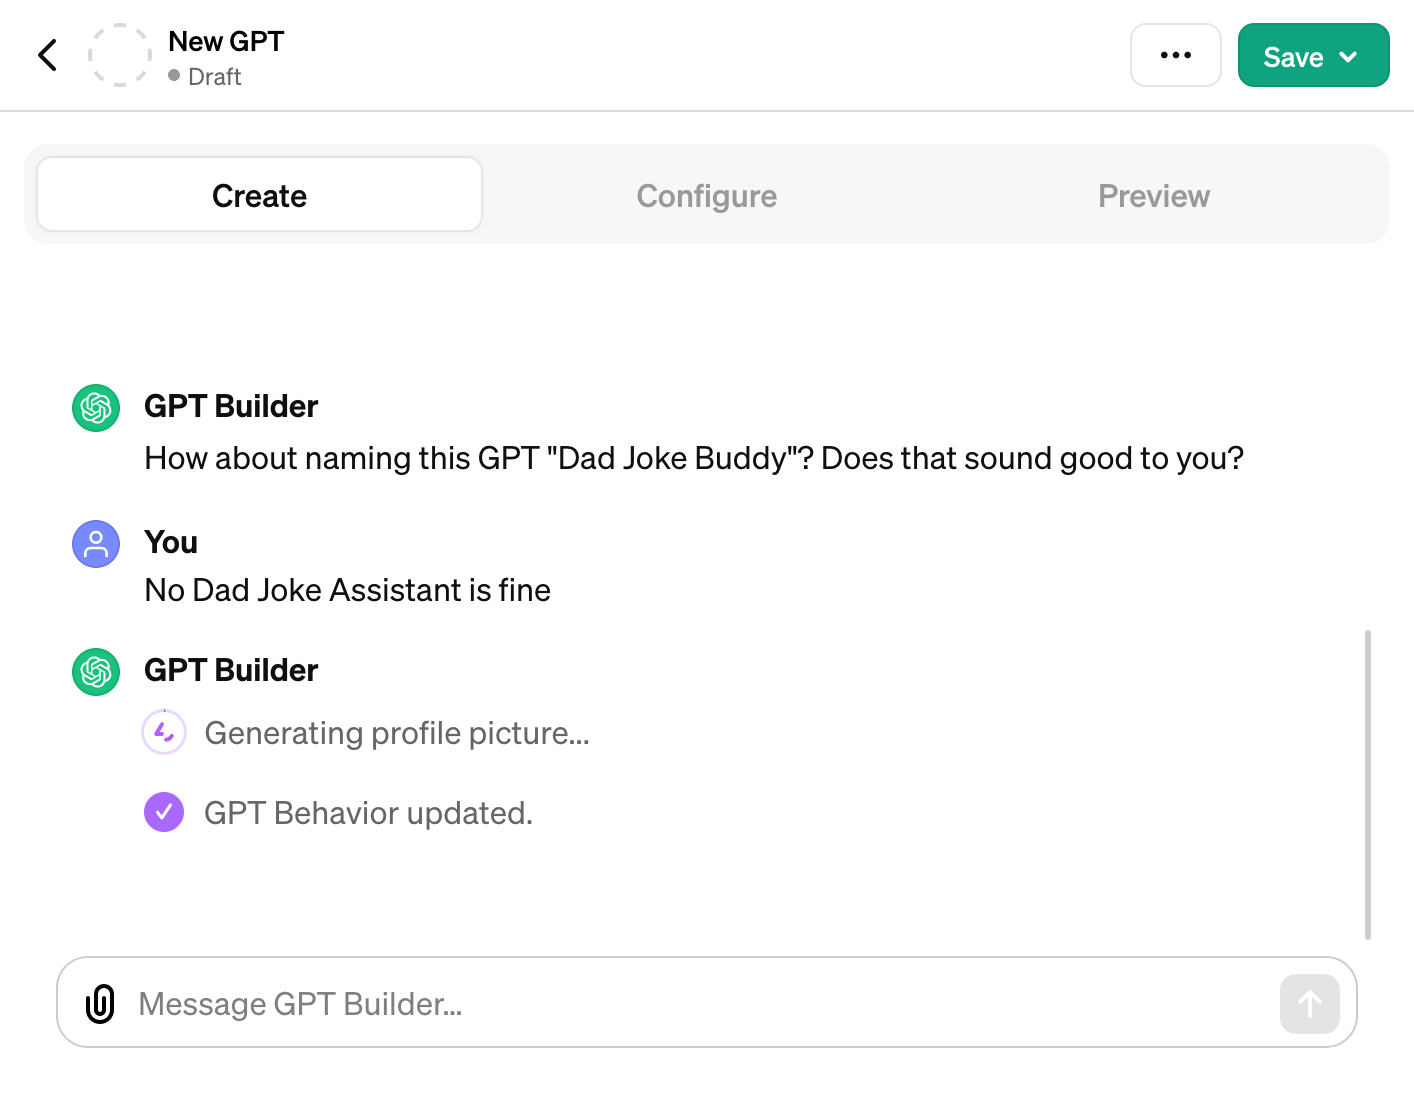
 The GPT Builder will propose a name for your GPT, you can choose to accept it or rename it or even provide a custom name.
Later on you can edit every aspect of your GPT, in the configuration menu.
The GPT Builder will propose a name for your GPT, you can choose to accept it or rename it or even provide a custom name.
Later on you can edit every aspect of your GPT, in the configuration menu.
-
Profile Picture Creation
One of the unique features within the builder chat is the ability to create a profile picture using DALL-E 3. This feature brings a visual identity to your GPT, making interactions more engaging and personable. The profile picture can be generated on the fly during a conversation, providing a dynamic way to visualize your AI.
After collecting initial information the GPT Builder will generate a profile picture for your GPT.
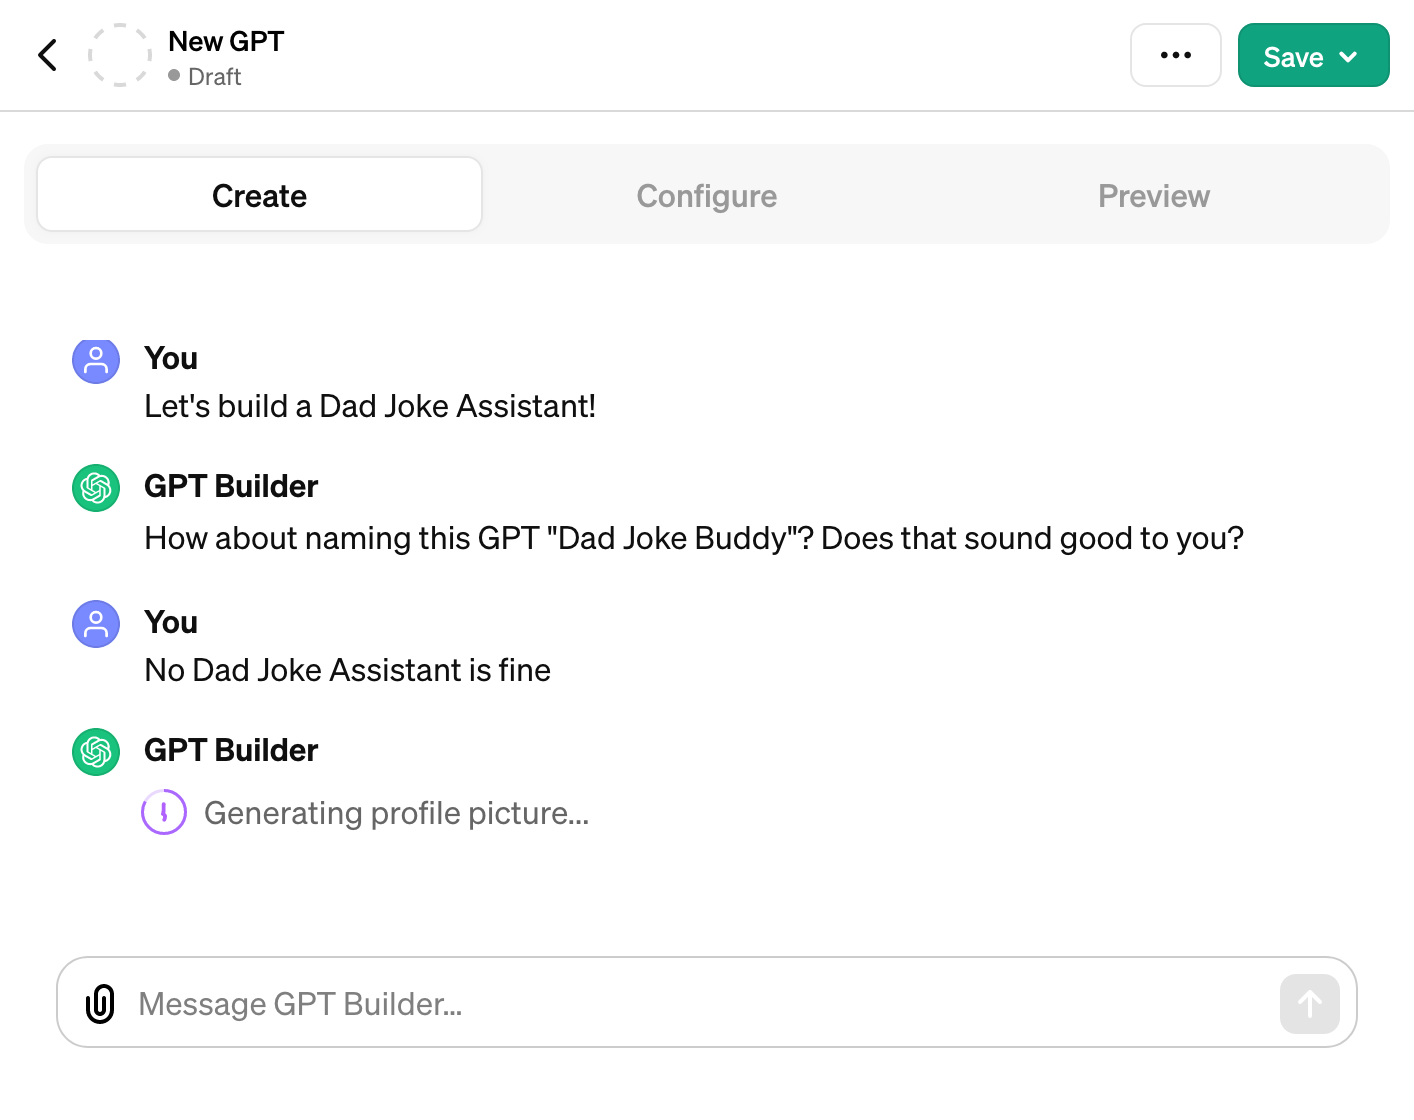 When finished the profile picture will be shown to you. You can choose to accept the generated profile picture or upload a custom one. You can also send prompts to edit the profile picture, this will then also be handled by DALL-E 3.

-
Configuration
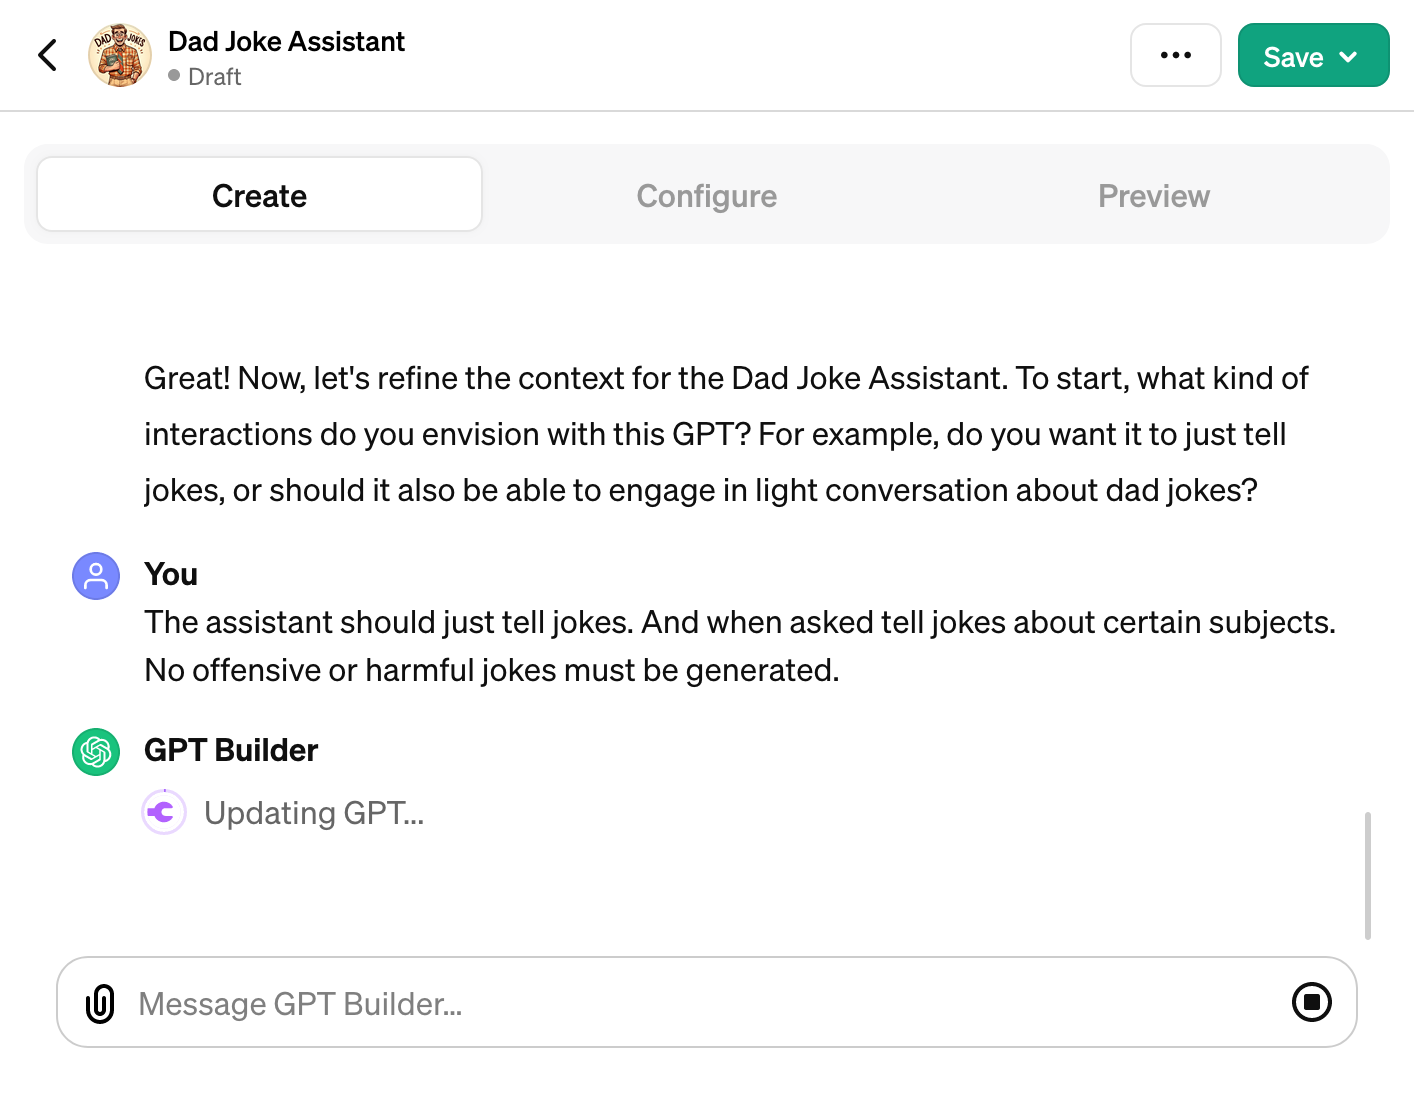
After shaping the initial behavior of your GPT, the builder will ask you further questions to refine its personality. You can choose to enable or disable certain actions, such as the ability to tell jokes or generate images. The builder also allows you to upload files that will be accessible to your GPT during conversations. These files can be used to provide context or to enhance the GPT's responses.
Here is the builder configuring the dad joke assistant.
You can also go to the configuration menu to edit the instructions, upload files, and enable or disable actions. In the following animated gif you can see how to edit the instructions.
-
Preview and Testing
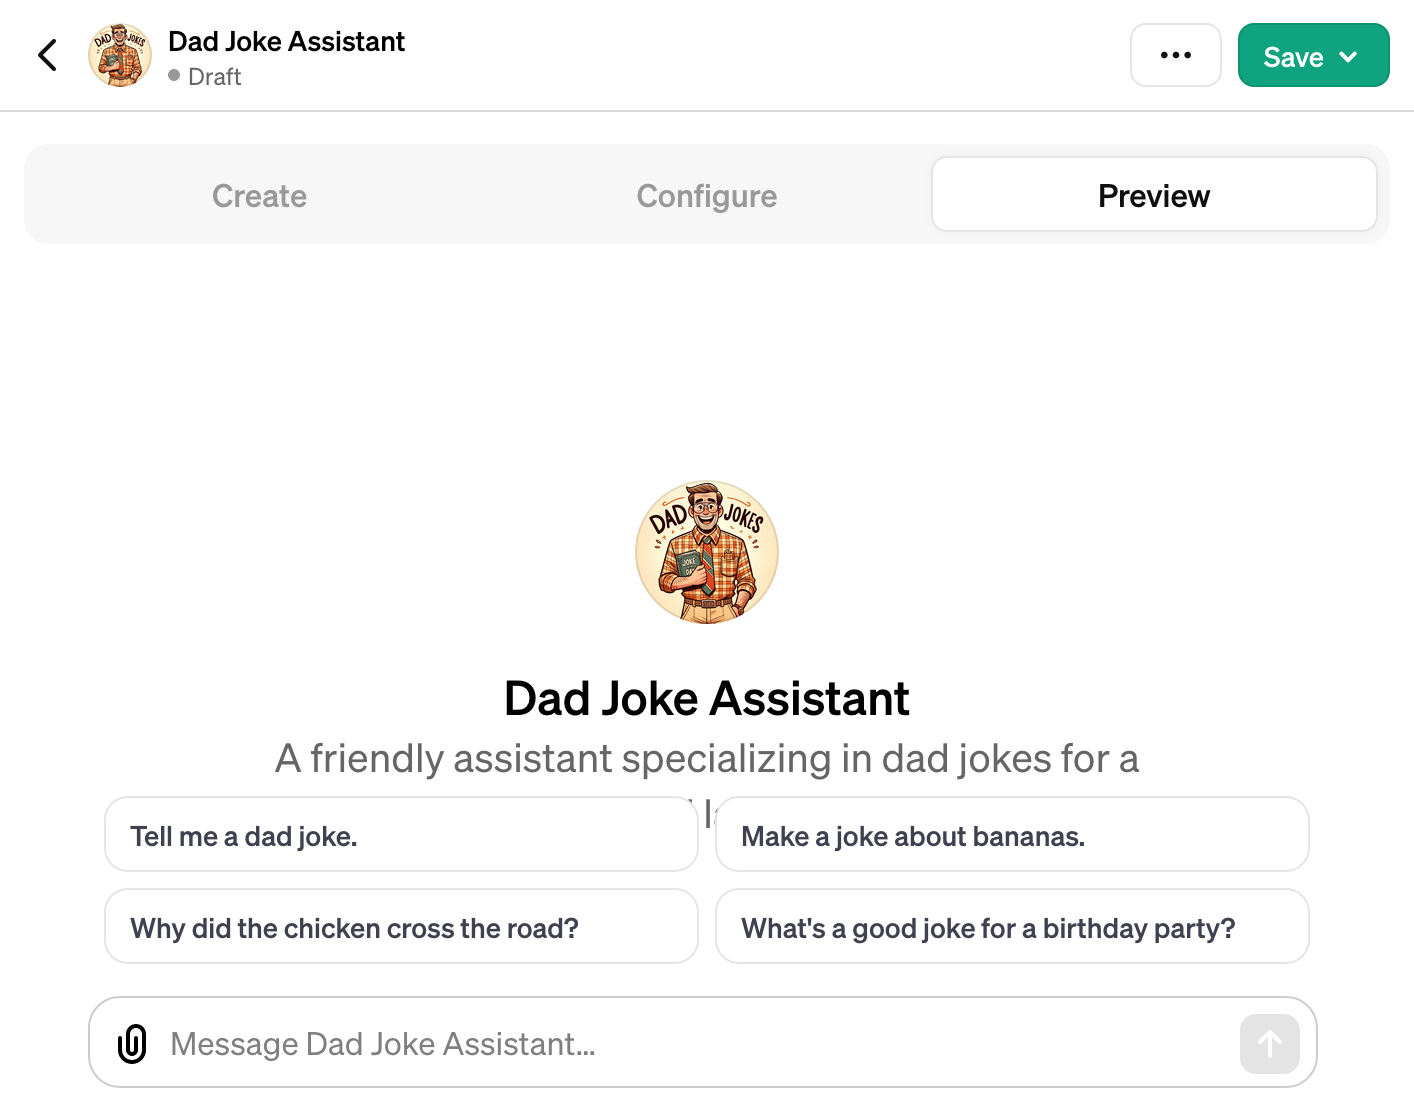
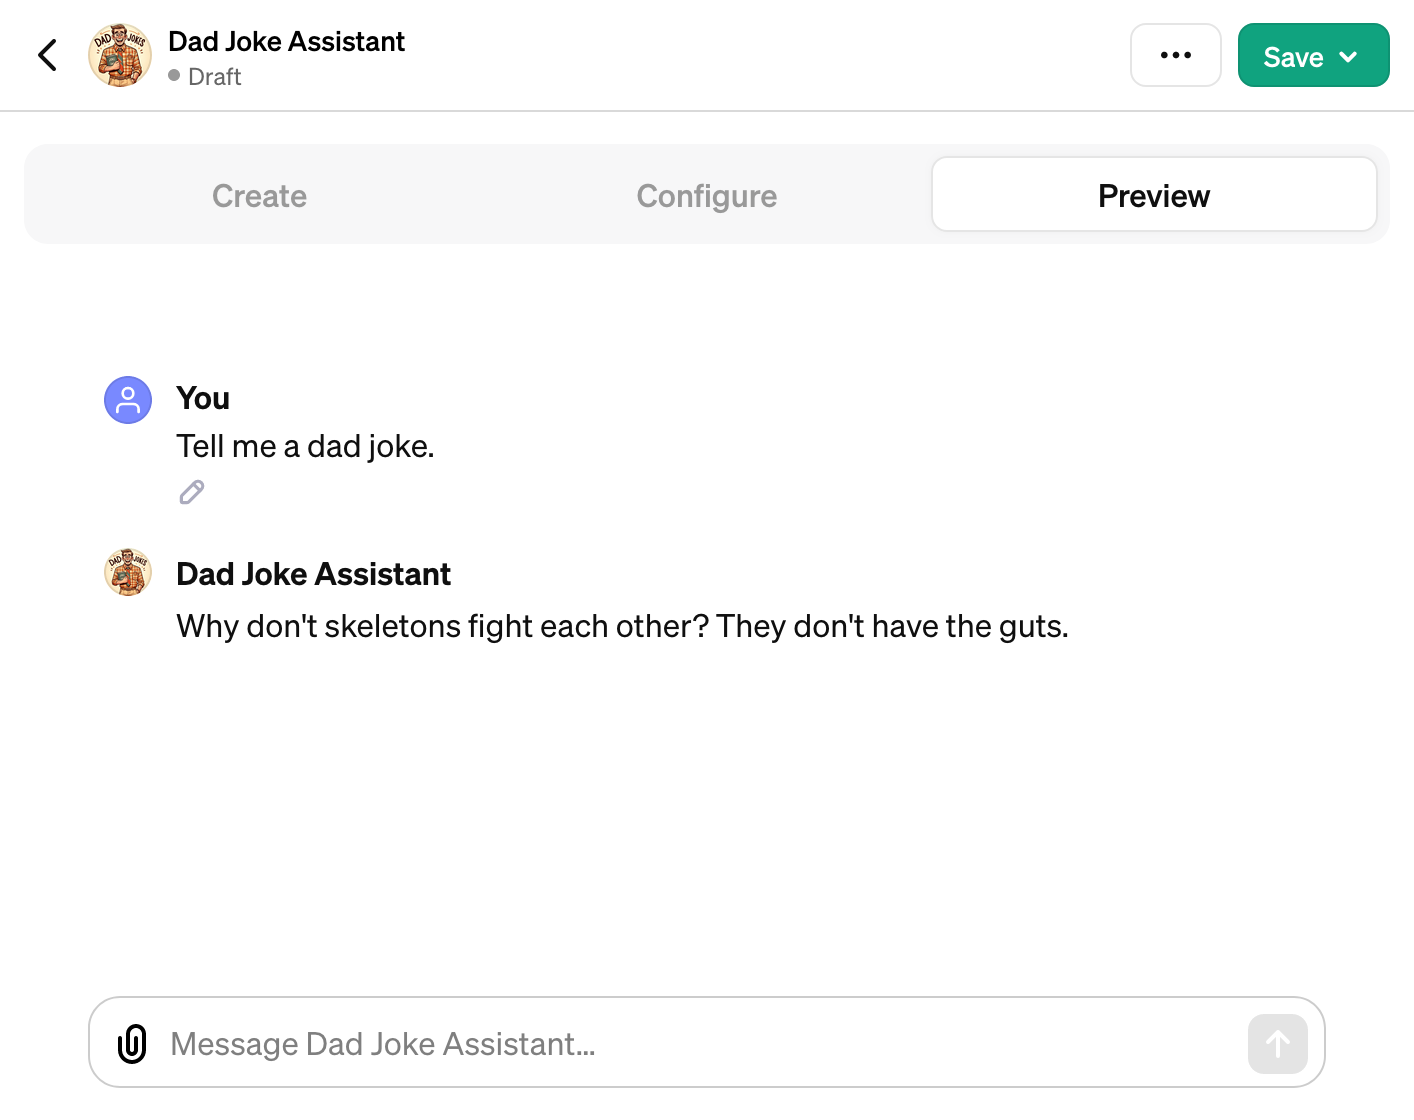
Before you release your custom GPT into the wild, you'll want to see it in action. The preview page in the editor is designed for just that. It allows you to interact with your GPT as if you were a user, providing insights into its behavior and allowing you to make necessary adjustments before finalizing.
-
Sharing Your Creation
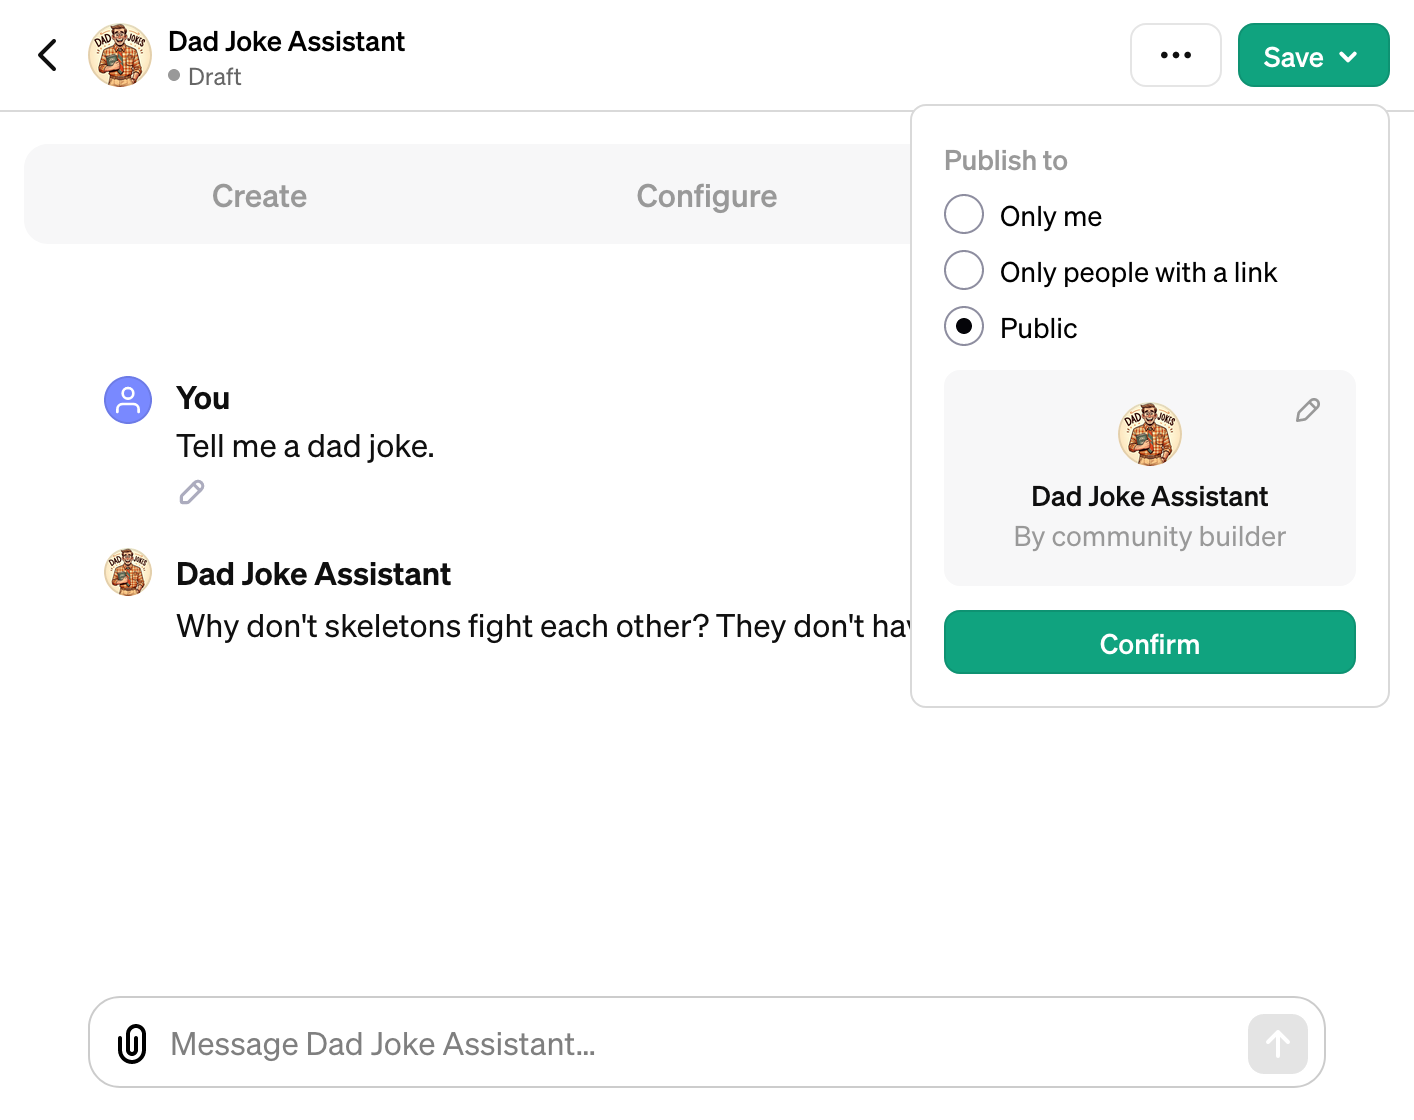
Finally, when you're satisfied with your custom GPT, the saving menu offers sharing settings. These settings are crucial for controlling how and with whom your GPT is shared. You can opt for public visibility or restrict access to users with link, depending on your preferences and needs.
Here is the URL of the dad joke assistant we created in this guide:
Overview of the saving and sharing options:
To conclude, the Custom GPT Editor by OpenAI is a robust tool that opens up a world of possibilities for personalized AI creation. From defining the character of your GPT in the GPT Builder to bringing it to life with a unique profile picture, and from meticulously configuring its behavior to sharing your final product, the journey is both comprehensive and rewarding.
Soon, we will share an in depth article on how to create custom actions for your GPT. Stay tuned!
For further details and to begin building your own Custom GPT, head to OpenAI's custom GPTs. If you want to know more about custom GPT actions, check out OpenAI's official GPT Actions guide.